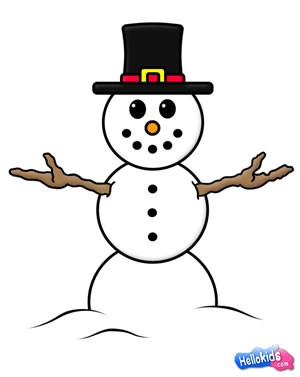
How to draw a snowman
Learn how to draw a snowman of your very own.
You will need:
- Pencil
- Pen
- Eraser
- Paper
- Colored pencils or crayons
- Ruler (suggested)
Jeff's Tips & Ideas : Use lightly sketched pencil lines first for the structure. After, use a pen to draw in the final lines. When you're finished, erase the underlying pencil lines to reveal your drawing. Then - color it!
Let's start! Follow step by step our easy indications below !
STEP 1
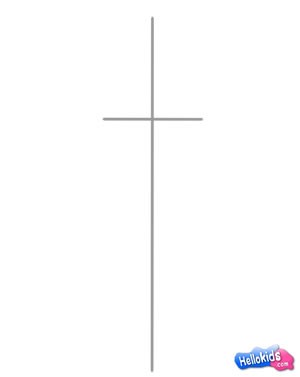
Begin by sketching out a simple, symmetrical centerline and cross, like so...
STEP 2
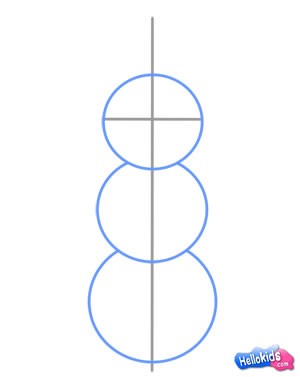
Lightly sketch in three overlapping circles.
STEP 3
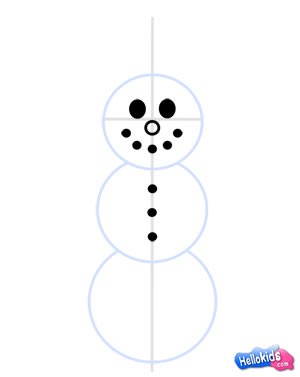
Make this part as simple or as advanced as you like... just go ahead and sketch in his eyes, nose, mouth and buttons - made out of coal and carrots! Circles do the trick. :-)
STEP 4
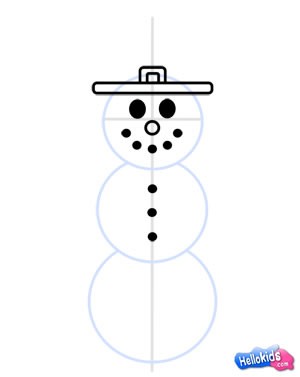
Start off his top hat with a couple easy-to-draw-shapes.
STEP 5
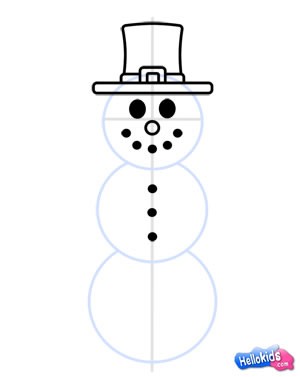
Working upward - add a couple more to complete the hat.
STEP 6
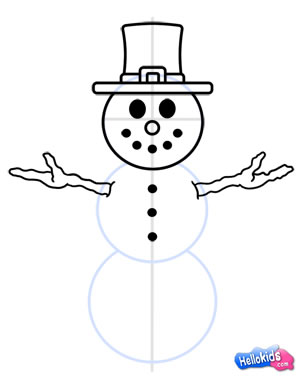
A couple "randomly drawn" branches for arms... and now it's really starting to look like a snowman!
STEP 7
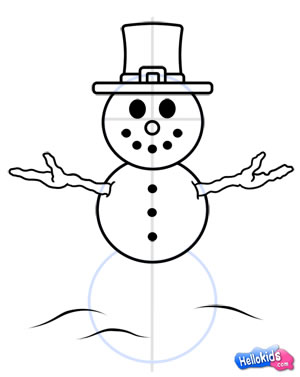
Remember... his body is made of snow - the same stuff that's on the ground around him. To best illustrate the transition from body to ground - start by marking off a few 'bumps' around the base like so...
STEP 8
Great! Now draw in the lower circle - blending in with the snow beneath.
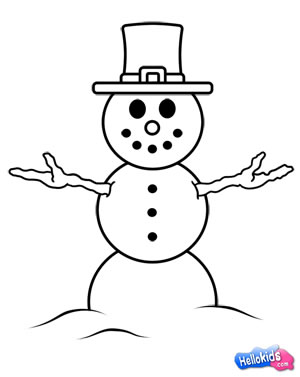
Minus the framework lines (if you used them to help you out), and plus some color (get creative as always!)... your final drawing is done! Nice work. :-)
Here is a drawing of a smiling snowman made by Jeff Scarterfield ! For more lessons by Jeff, check out his website at How-to-Draw-Cartoons-Online.com.
Happy Drawing! :-)
